
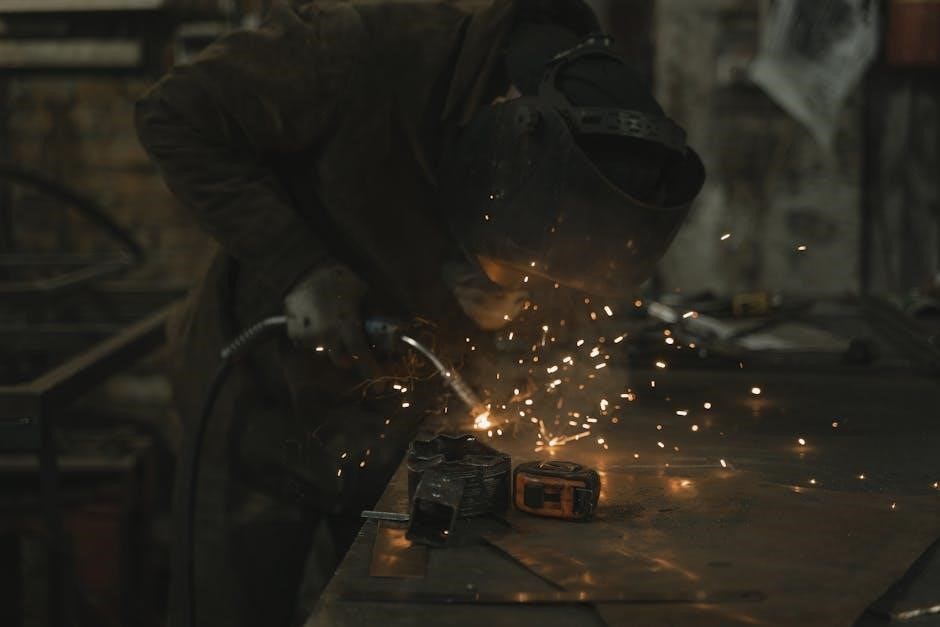
J-B Weld is a renowned two-part epoxy system known for its exceptional strength and versatility in repairing metal and other surfaces. It offers a durable, long-lasting bond, making it ideal for various applications where traditional welding isn’t feasible. This cold-welding compound is widely used in automotive, industrial, and household repairs, providing a cost-effective solution for restoring damaged materials.
What is J-B Weld?
J-B Weld is a two-part epoxy system consisting of a resin and hardener. When mixed, it forms a strong, permanent bond that can be shaped, sanded, and drilled. Known as a “cold weld,” it doesn’t require heat, making it ideal for metal repairs. Its high tensile strength and temperature resistance make it suitable for automotive, industrial, and household fixes. It bonds to metal, wood, plastic, and more, offering a durable solution for various surfaces.
Common Applications of J-B Weld
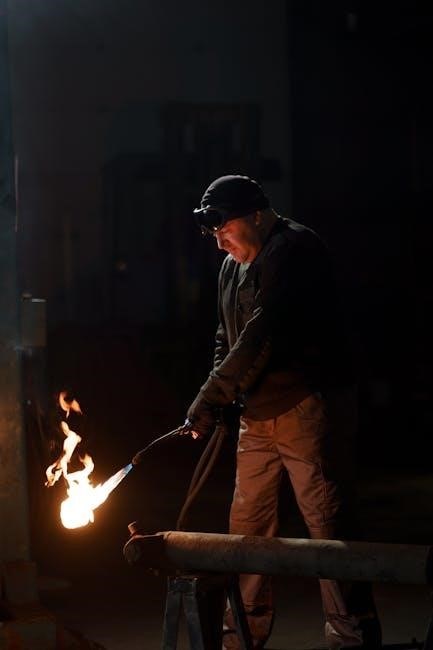
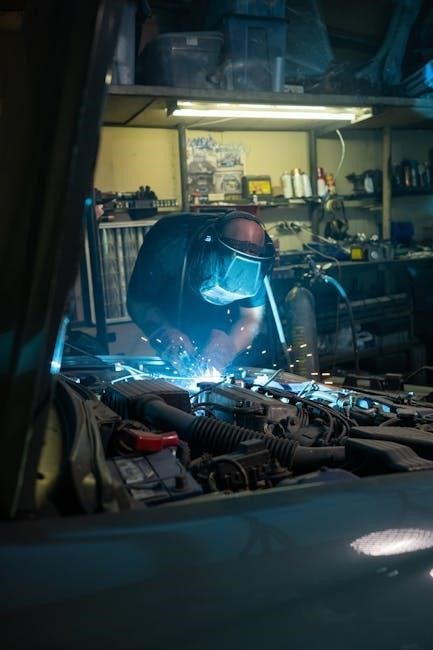
J-B Weld is widely used for repairing metal, wood, plastic, and other materials. It’s ideal for automotive repairs, such as fixing engine parts, exhaust systems, and stripped threads. Household fixes, like leaky pipes or broken appliances, also benefit from its strength. Industrial applications include machinery and equipment repairs. Its versatility makes it suitable for high-temperature environments and bonding dissimilar materials, ensuring durable and long-lasting results across various industries and projects.
Preparation for Using J-B Weld
Ensure surfaces are clean, dry, and free of grease or rust. Use steel wool to roughen the area for better adhesion. Gather necessary tools and materials beforehand.
Materials and Tools Needed
Gather gloves, goggles, and a well-ventilated workspace. Ensure you have J-B Weld epoxy, steel wool, a plastic knife or credit card for mixing, and a clean surface. Prepare tools like sandpaper or a file for surface preparation. Have wax paper or a disposable mixing surface ready. A clamp may be needed to hold repairs in place while setting. Ensure all materials are within reach to streamline the repair process effectively.
Surface Preparation Tips
Ensure the surface is clean, dry, and free of grease or oil. Use sandpaper or a wire brush to roughen the area, creating a better bond. Remove any rust or corrosion thoroughly. Avoid direct sunlight or moisture during preparation. If needed, lightly sand edges to create a seamless repair. Proper preparation enhances adhesion and ensures a strong, durable bond. Always work in a well-ventilated area for optimal results.
Step-by-Step Application Process
J-B Weld involves cutting, mixing, and applying the epoxy putty, then shaping and allowing it to set and cure for a strong, high-temperature-resistant bond.
Mixing the Epoxy Putty
Mixing J-B Weld epoxy putty is a critical step for achieving a strong bond. Cut equal parts of the resin and hardener, then mix thoroughly on a clean surface until the color is uniform. Use a plastic knife or similar tool to ensure no streaks remain. Mix only what’s needed, as the putty sets quickly. Proper mixing ensures maximum strength and durability for the repair.
Applying the Mixture to the Repair Area
Once mixed, apply the J-B Weld epoxy putty immediately to the repair area. Wear gloves to prevent sticking. Press the putty firmly into the damaged area, ensuring full coverage. Use a tool or gloved hand to shape and smooth it, filling all gaps and cracks. The putty can be molded or spread as needed for proper adhesion. Allow it to set undisturbed for the recommended time to ensure a strong, lasting bond.
Shaping and Smoothing the Repair
After applying the mixture, use a tool or gloved hand to shape and smooth the repair. Press firmly to ensure the putty fills all gaps and cracks. Feather the edges outward for a seamless blend with the surrounding surface. Avoid overworking, as this can weaken the bond. Once shaped, let the repair sit undisturbed to cure. After curing, the area will be hard, sandable, and paintable, blending perfectly with the original material.

Setting and Curing
J-B Weld sets in 4-6 hours and fully cures in 15-24 hours, depending on temperature and humidity. Allow the repair to cure undisturbed for optimal strength and durability.
Setting Time and Conditions
J-B Weld typically sets in 4-6 hours, with full curing completed in 15-24 hours. Optimal setting occurs at room temperature (70°F-75°F) with low humidity. Higher temperatures accelerate the curing process, while colder conditions slow it down. Ensure the repair area remains undisturbed during the setting phase to achieve a strong, durable bond. Proper environmental conditions are crucial for maximizing the product’s performance and longevity.
Curing Process and Durability
J-B Weld reaches full cure in 15-24 hours, depending on environmental conditions. Once cured, it forms a permanent, heat-resistant bond that withstands temperatures up to 500°F. The cured epoxy is waterproof, chemical-resistant, and durable enough for heavy-duty applications. Proper curing ensures maximum strength and longevity, making it suitable for repairs that require long-term reliability. Allow the full curing time for optimal results and to achieve the product’s renowned durability and performance.
Safety Tips and Precautions
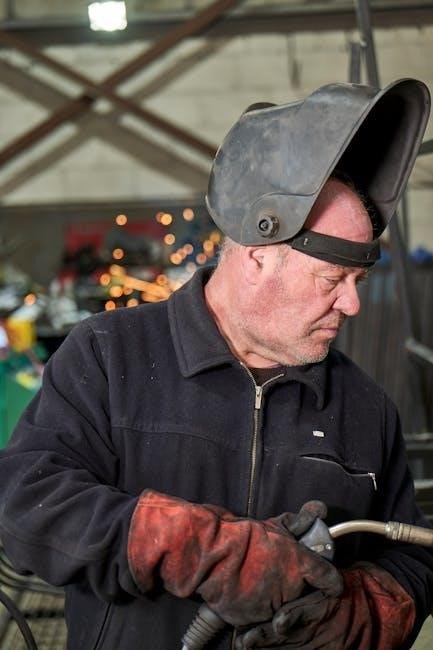
Always wear protective gear, including gloves, goggles, and a mask, when handling J-B Weld. Work in a well-ventilated area to avoid inhaling fumes. Avoid skin contact, as it may cause irritation. Keep the product away from children and pets. Follow the manufacturer’s instructions carefully to ensure safe and effective use of the epoxy putty. Proper preparation and precautions are essential for a successful repair.
Handling the Epoxy Safely
Always wear protective gloves, safety goggles, and a mask when handling J-B Weld to avoid skin irritation and inhalation of fumes. Ensure the workspace is well-ventilated to prevent the buildup of harmful vapors. Avoid direct contact with the epoxy putty, as it can cause allergic reactions in some individuals. Wash hands thoroughly with soap and water after use. Keep emergency supplies, such as a first aid kit, nearby in case of accidents.
Protective Gear and Workspace Preparation
Wear protective gloves, goggles, and a mask to prevent skin contact and inhalation of epoxy fumes. Ensure the workspace is well-ventilated and free from dust or debris. Cover surrounding surfaces with drop cloths or newspapers to protect them from spills. Clean the repair area thoroughly before applying J-B Weld to ensure proper adhesion. Maintain a stable and dry workspace to optimize the bonding process and avoid contamination.

Common Issues and Troubleshooting
Common issues include weak bonds, cracks, or uneven surfaces. Ensure proper surface preparation, avoid contaminants, and apply even pressure. Reapply or sand uneven areas for a smooth finish.
Addressing Weak Bonds or Cracks
Weak bonds or cracks can occur due to improper mixing, insufficient surface preparation, or uneven application. To address this, ensure the epoxy is mixed thoroughly and applied to a clean, dry surface. For cracks, sand the area lightly and reapply a thin layer of J-B Weld. Allow it to cure fully before testing. If the bond remains weak, repeat the process or consider reinforcing with additional material for added strength and durability.
Dealing with Uneven Surfaces or Bubbles
Uneven surfaces or bubbles can be resolved by gently pressing the mixture with a tool or applying heat with a heat gun. For bubbles, use a needle or pin to puncture and smooth out. Sand uneven areas lightly after curing and apply additional layers if needed. Ensure the surface is clean and dry before reapplying to achieve a smooth, even finish. Proper preparation and patience are key to avoiding such issues.
Aftercare and Maintenance
After curing, inspect the repair for imperfections and sand if needed. Apply touch-ups for smoothness. Regular maintenance involves avoiding harsh chemicals and extreme temperatures to ensure longevity.
Post-Curing Inspections and Touch-ups
After curing, inspect the repaired area for any imperfections or unevenness. Lightly sand the surface to smooth out rough spots or edges. Apply additional coats of paint or sealant if necessary to match the surrounding material. Ensure the repair is free from dust or debris before final use. Avoid exposing the repaired area to harsh chemicals or extreme temperatures until fully cured and sealed.
Long-Term Care for Repaired Surfaces
Regularly inspect repaired surfaces for signs of wear or damage. Clean the area with mild detergents to prevent dirt buildup. Avoid exposing the repair to harsh chemicals or abrasive materials. For outdoor repairs, consider applying a UV-resistant sealant to protect against weathering. Periodically check for cracks or weaknesses and address them promptly. Proper maintenance ensures the durability and longevity of the J-B Weld repair, maintaining its strength and integrity over time.
Benefits of Using J-B Weld
J-B Weld offers exceptional strength and versatility, providing high tensile strength and temperature resistance. It bonds multiple materials effectively, making it a cost-effective solution for durable repairs.
Strength and Versatility
J-B Weld is renowned for its high tensile strength and versatility, making it suitable for metal, wood, and aluminum repairs. It forms a durable bond that withstands heat, chemicals, and moisture, offering exceptional reliability in demanding conditions; Once cured, it can be drilled, tapped, and sanded, providing a long-lasting solution for various surfaces. Its adaptability and strength make it a go-to choice for both industrial and household repairs.
Cost-Effectiveness and Convenience
J-B Weld offers exceptional value as a cost-effective solution for repairs, eliminating the need for expensive tools or professional services. Its versatility across multiple materials reduces the need for specialized products, while its ease of use makes it accessible for DIY enthusiasts. With a wide range of applications and a long shelf life, J-B Weld provides convenience and affordability for both small and large-scale repairs, making it a practical choice for many users.